Planning to climb the Lemosho route Kilimanjaro is an exciting step. It is the journey of a lifetime for many. This is not about being a superhero. It is about taking a wise, step-by-step path to the top of Africa. The mountain is big, but your dream is bigger. With the right approach, that dream becomes your reality. This guide walks you through that process calmly and clearly. We will talk about what each day feels like. You will learn how to choose the right support team. We also cover how to prepare your mind and body. Let’s begin.
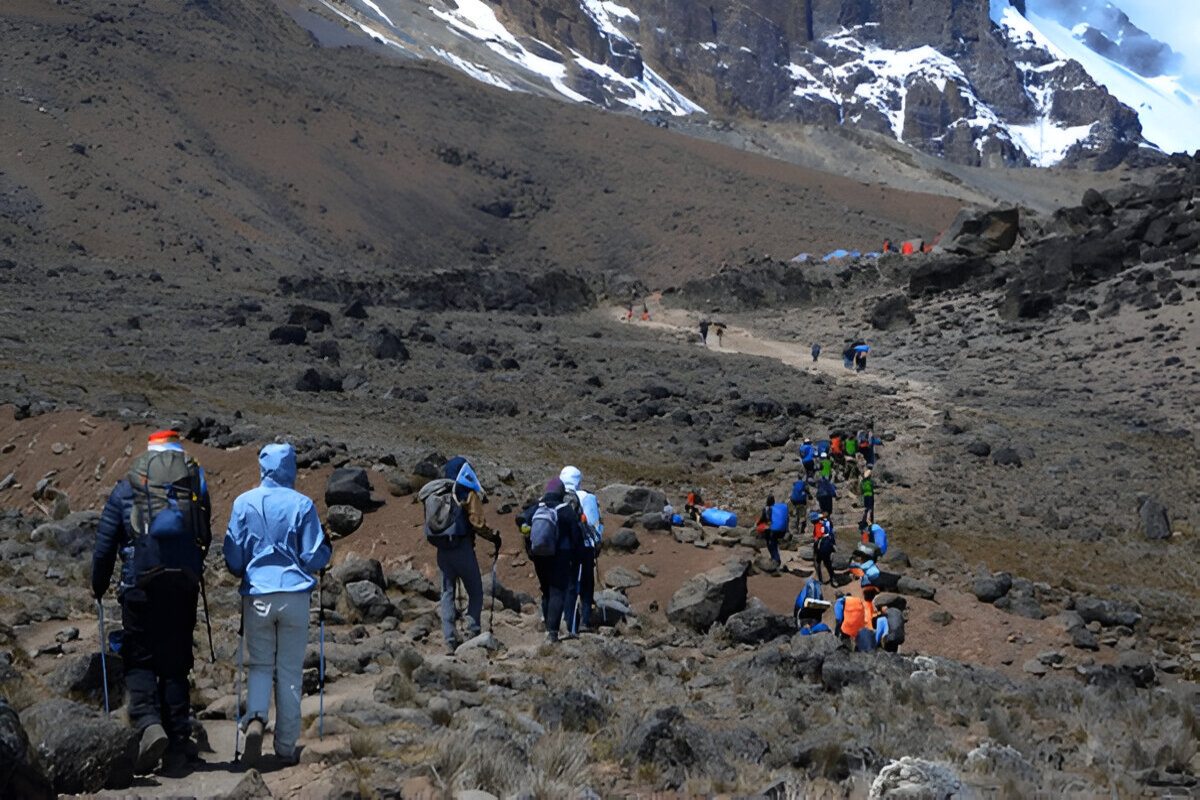
The Lemosho route is known for its beauty and high success rate. It starts on the western side of the mountain. This gives you more time to get used to the altitude. The path is less crowded at the beginning. This allows for a more peaceful start to your adventure. The route is longer, which is actually better for your body. It follows the principle of “walk high, sleep low.” This helps prevent altitude sickness. The scenery changes every day. You walk through rainforests, heathlands, and alpine deserts. Each view is more stunning than the last. This route is a smart choice for a safe and memorable climb.
Here is a simple look at what each day holds on a typical 7-day Lemosho route itinerary. This schedule is designed for safety and enjoyment.
Your adventure begins at the Londorossi Gate. After registration, you drive to the trailhead. The first walk is through a lush rainforest. You might see blue monkeys or hear exotic birds. The day is gentle, easing you into the trek. You reach Mti Mkubwa Camp as the sun sets. The air is cool and fresh. You enjoy your first dinner on the mountain. The sounds of the forest surround you. It is a perfect start.
You leave the forest behind. The landscape opens into moorland. Giant heather plants line the path. The views become wider. You can see the Shira Plateau ahead. The walk is steady. You gain altitude slowly. This helps your body adjust. You arrive at Shira 1 Camp. The air is thinner here. You take deep breaths. The sky is vast. You feel the mountain’s presence. It is a day of transition.
Today is a shorter trek. It is an acclimatization day. You walk across the Shira Plateau. The terrain is flatter. You can see the summit from here. It looks far away. But you are getting closer. The camp is on the plateau. The views are breathtaking. You feel stronger. The altitude feels more normal. It is a day of adaptation.
This is a key day for acclimatization. You climb high to Lava Tower. Then you descend to Barranco Camp. This “climb high, sleep low” strategy is very effective. It prepares your body for higher altitudes. The walk to Lava Tower is a steady climb. The air is noticeably thinner. You take it slow. After a break, you descend. The Barranco Wall is visible. You will tackle it tomorrow. It is a day of preparation.
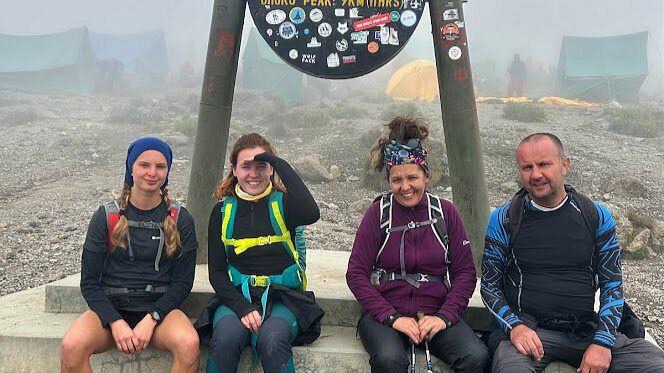
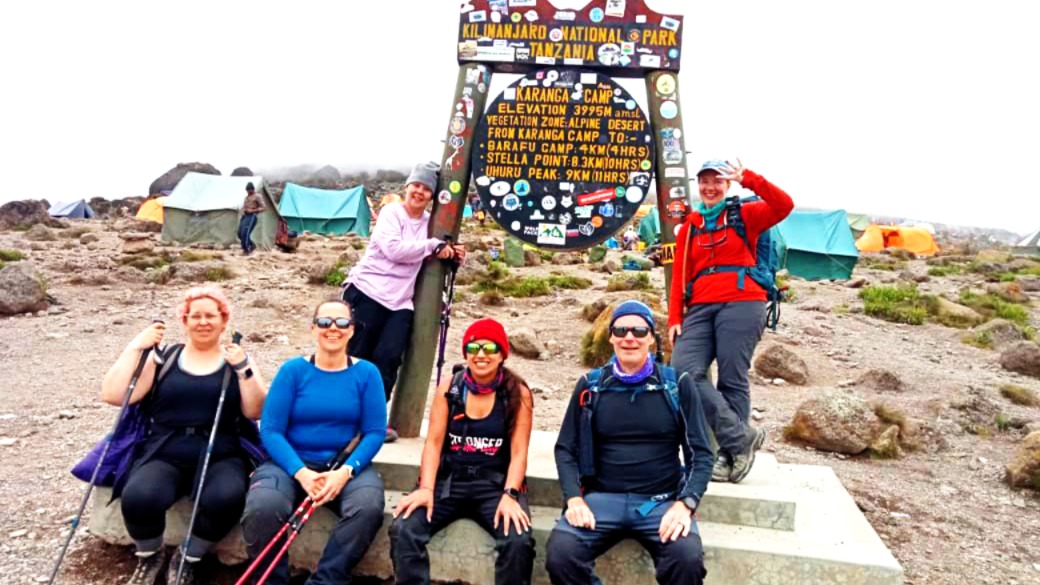
You start by climbing the Barranco Wall. It looks steep. But it is mostly a scramble. You use your hands sometimes. It is fun. After the wall, the path is gentler. You walk to Karanga Camp. This camp is high. You can feel the altitude. But you are ready. Your body is adapting. You are almost there. It is a day of challenge.
Today’s walk is shorter. But the air is much thinner. You move slowly. You reach Barafu Camp. This is base camp. You eat an early dinner. Then you rest. The summit push starts tonight. You prepare your mind. You check your gear. You are ready for the final climb. It is a day of anticipation.
You wake up around midnight. You start walking in the dark. It is cold. You take small steps. You breathe deeply. You watch the sunrise from Stella Point. Then you walk to Uhuru Peak. You are at the top of Africa. You feel proud. You take pictures. You celebrate. Then you descend to Mweka Camp. You are tired but happy. It is a day of achievement.
Physical preparation is important. Start training months before. Focus on cardio and leg strength. Walking is the best exercise. Try to walk on hills. Use a backpack. Gradually add weight. This builds endurance. Also, practice walking slowly. On the mountain, pace is everything. Do not rush. Your fitness will help you enjoy the journey.
Mental preparation is just as important. The climb can be tough. But your mind is powerful. Practice positive thinking. Visualize reaching the top. Be ready for challenges. Stay calm. Focus on each step. Do not think too far ahead. Trust your guides. Believe in yourself. You can do this.
Your support team is crucial. They keep you safe. They motivate you. Choose a reputable company. Look for experienced guides. Check their safety record. Read reviews. A good team makes all the difference. They turn a difficult climb into a rewarding experience.
Packing the right gear is key. You need layers. The weather changes fast. Start with moisture-wicking base layers. Add insulating mid-layers. Finish with a waterproof outer layer. Good boots are essential. Bring a warm sleeping bag. Do not forget a headlamp. A detailed packing list is available from your tour operator.
Reading this guide is a great start. Now it is time to take action. The mountain is waiting. Your journey is about to begin. The first step is the most important. Reach out to a trusted operator. Ask questions. Get a clear itinerary. Start your training. The path to Uhuru Peak is clear. Your adventure is calling.