
Planning your Kilimanjaro journey starts with choosing your path. The Machame route itinerary is one you will hear about often. It is known for its beauty and high success rate. This guide is your calm, clear map. We will walk through each step, from the first day in the forest to the final push to the roof of Africa. You will learn what to expect and how to prepare your body and mind. Our goal is simple. We want to replace uncertainty with knowledge and nervousness with quiet confidence. Let us begin.
The Machame Route is often called the “Whiskey” route. This nickname comes from a comparison. It is compared to the older, easier “Coca-Cola” route. Machame is a stronger, more challenging experience. But do not let that scare you. Here, “challenging” means more rewarding, not impossible. It is the most popular path for first-time climbers and experienced trekkers alike. Why? Because it offers a perfect balance. It gives your body the best chance to get used to the high altitude. It also shows you the mountain’s incredible beauty. The route starts on the southern side. You walk through a magical rainforest on the first day. Then, you move into open moorlands. After that comes a rocky alpine desert. Finally, you reach the arctic summit zone. You see every climate on Earth in one week. The journey typically takes six or seven days. The seven-day option is highly recommended. That extra day is not a luxury. It is your secret weapon for success. It gives your body more time to adapt. This makes the climb safer and more enjoyable. You sleep in tents each night. This allows your team to be flexible. They can camp in the best spots for acclimatization. This is a key part of the route’s high success rate.
Here is your step-by-step journey. We will focus on the seven-day plan. It provides the safest and most successful climb. Think of each day as a chapter in your story.
Day 1: Machame Gate to Machame Camp. Your adventure begins! You register at the gate. Then, you step into the lush, green rainforest. The air is humid and filled with sounds. You will hear birds and monkeys. The trail is a steady, sometimes muddy, uphill walk. It takes about 5 to 7 hours. You climb from 1,800 meters to 3,010 meters. Today is about warming up your legs. It is also about enjoying the vibrant life of the forest.
Day 2: Machame Camp to Shira Camp. You leave the forest behind. Then, you enter the heather moorland. The scenery opens up into wide, beautiful views. The path gets rockier and steeper in sections. You will hike for about 4 to 6 hours. You climb from 3,010 meters to 3,845 meters. As you gain height, you might feel the air getting thinner. This is normal. The key is “pole pole” (pronounced po-lay po-lay). This means “slowly slowly” in Swahili. It is your mantra for the entire climb.
Day 3: Shira Camp to Lava Tower to Barranco Camp. This is a very important day for acclimatization. You will practice “climb high, sleep low.” You hike up to the impressive Lava Tower at 4,630 meters. Then, you have lunch there. After that, you descend to sleep at Barranco Camp at 3,960 meters. This high-up exercise helps your body adjust. Then, you come down to sleep lower. The total hiking time is about 6 to 8 hours. You also get your first close-up view of the great Barranco Wall. You will tackle that tomorrow.
Day 4: Barranco Camp to Karanga Camp. Many people love this day! You start by climbing the Barranco Wall. It looks intimidating, but it is a fun scramble. You use your hands and feet. It is not technical climbing. After the wall, you traverse up and down across valleys. You will see stunning views of the mountain’s southern glaciers. It is a shorter day, around 3 to 5 hours. It ends at Karanga Camp (3,995 meters). This shorter day helps you rest. It also helps you continue acclimatizing.
Day 5: Karanga Camp to Barafu Camp. The landscape turns more rocky and moon-like. You hike to Barafu Camp. This is your base camp for the summit. The walk takes about 3 to 4 hours. It brings you to 4,673 meters. You will arrive early. Then, you have lunch. After that, you do the most important thing: rest. Try to sleep. You will need all your energy because tonight is summit night.
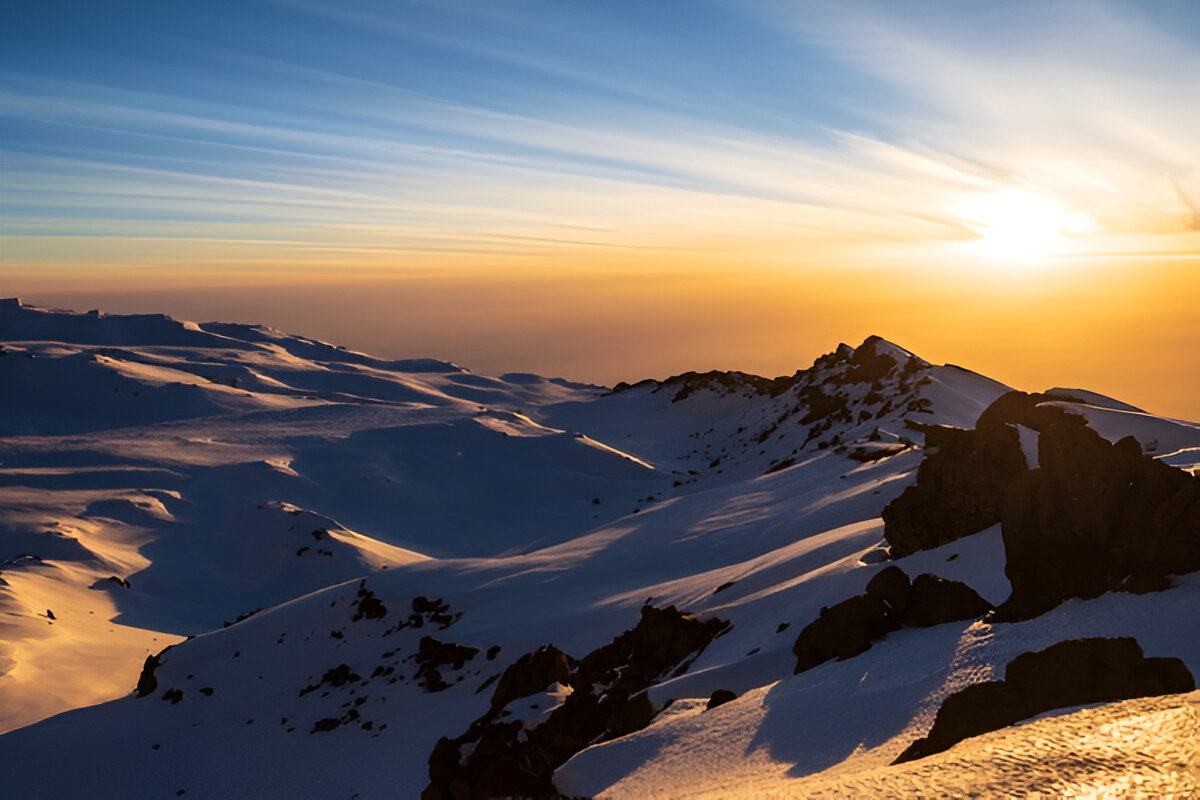
Day 6: Summit Day! Barafu Camp to Uhuru Peak to Mweka Camp. This is the big day. You will wake up around midnight. Headlamps light the way. You begin the final push in the cold, dark night. You walk very slowly, step by step. This takes about 6 to 8 hours. You reach Stella Point on the crater rim at sunrise. This is a moment you will never forget. Then, you walk along the rim for another hour. You go to Uhuru Peak. This is the highest point in Africa at 5,895 meters. Congratulations! After celebrating and taking pictures, you descend all the way back to Barafu Camp. You take a short rest there. Then, you continue down to Mweka Camp at 3,080 meters. This long, demanding day can take 12 to 16 hours total.
Day 7: Mweka Camp to Mweka Gate. Your final descent is through the rainforest again. It is a joyful, reflective walk. It takes 3 to 4 hours down to the gate. Here, you receive your summit certificate. Then, you say goodbye to your amazing crew. Finally, you drive back to your hotel. You have done it.
How do you know if Machame is the right path for you? Let us compare it fairly to other main routes. This will help you make an informed choice. You can base it on facts, not just popularity.
Machame vs. Marangu (The “Coca-Cola” Route): Marangu is the only route with hut accommodations. These are shared dormitory rooms. It is often seen as the easiest and cheapest, but this can be misleading. It is shorter, often 5 days. This means less time to acclimatize. Because of this, its success rate is much lower. It is often quoted around 42%. The Machame route itinerary, however, is different. It uses a 7-day plan and tented camping. So, it has a much higher success rate. This is usually over 90% with a good operator. Machame is also more scenic and varied.
Machame vs. Lemosho Route: Lemosho is considered one of the most beautiful routes. It starts further west and is longer. Eight days is common. This is excellent for acclimatization and success. It is also less crowded at the beginning. However, it often joins the Machame route later on. Lemosho is fantastic but can be more expensive. This is due to the longer duration. Machame offers a similar high success rate and great scenery. It does this in a slightly shorter, often more budget-friendly timeframe.
Machame vs. Rongai Route: Rongai starts on the north side of the mountain. It is drier and less crowded. It is a good, steady climb but is often done in 6 days. This can be a bit short for ideal acclimatization. The scenery is different. It is more open and desert-like at the start. Machame is more scenically diverse. It also follows the better-proven “climb high, sleep low” pattern. Many guides prefer this for first-timers.
The Bottom Line: The Machame route itinerary strikes a brilliant balance. It has a proven, high success rate. It offers stunning and varied landscapes. It is challenging but achievable for a fit beginner. And it fits well within a typical one-week vacation timeframe. For most people dreaming of climbing Kilimanjaro, it is an outstanding choice.
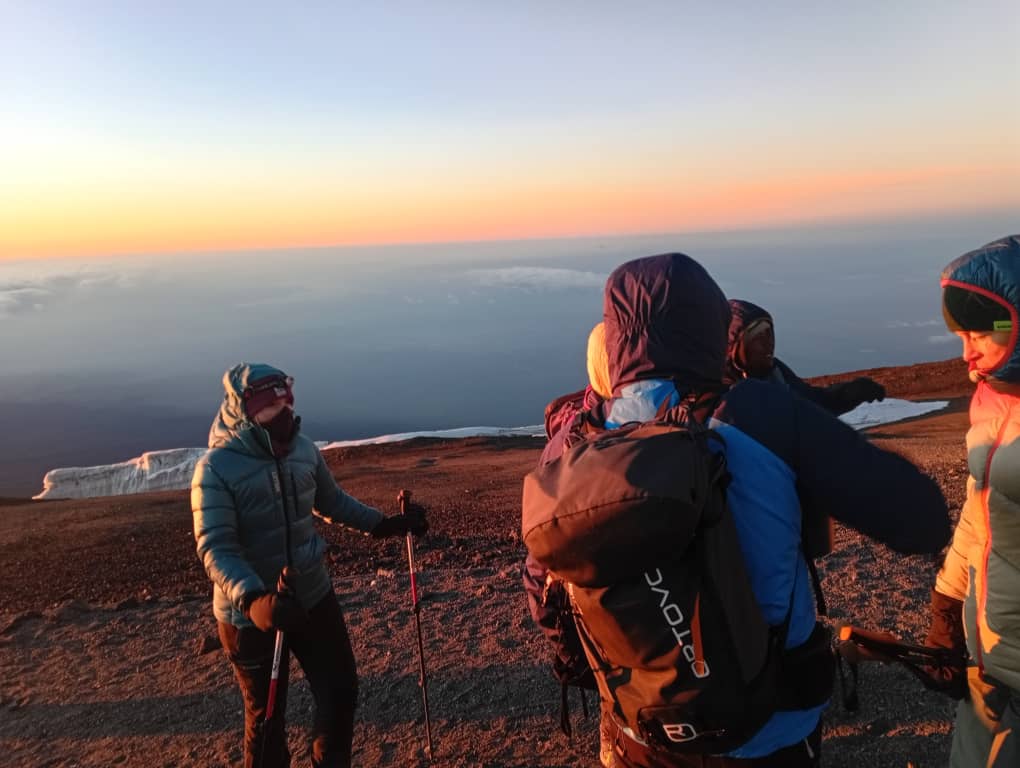
Success on Kilimanjaro is not about being the strongest athlete. It is about smart preparation and the right support. Here are the three pillars of your success.
1. Acclimatization is Everything. This is your body getting used to having less oxygen. The 7-day Machame route is designed for this. The key day is Day 3. You hike to Lava Tower and sleep lower. Always choose an itinerary that has these acclimatization days built in. Rushing up the mountain is the main reason people fail. Listen to your body. Also, drink lots of water. Aim for 4-5 liters a day. And always follow the “pole pole” rule.
2. Fitness Preparation. You do not need to be a marathon runner. But you need to be a strong walker. The best training is walking uphill. Find hills or stairs. Then, walk up and down with a loaded backpack. Do cardio exercises like hiking, cycling, or swimming. Do this 3-4 times a week for at least two months before your climb. Getting your legs, lungs, and heart ready will make the journey enjoyable. It will not just be an endurance test. For a detailed plan, see our Mount Kilimanjaro training plan.
3. Your Team is Your Lifeline. This is the most important choice you will make. You are not just hiring a guide. You are hiring a full support team. A reputable operator provides experienced guides. They also provide a skilled cook and strong porters. Ask how they treat their staff. Do they pay fair wages? Do they provide proper food, tents, and equipment for the crew? A happy, well-treated team is a safe, motivated, and professional team. They will care for you. They will encourage you. And they will share their knowledge of the mountain. Read reviews and ask detailed questions. Then, choose a company that values safety and ethics over the lowest price. Learn more about our standards why choose us.
Now, let us get practical. What do you actually need to bring? And what can you expect?
The Gear Checklist: The rule is “be prepared for all seasons.” You will experience rain, hot sun, cold wind, and freezing temperatures. Do not skimp on key items. You need a very warm sleeping bag. It should be rated for -10°C or lower. You also need a comfortable daypack and a large duffel bag for porters to carry. Sturdy broken-in hiking boots are essential. Also, pack thermal layers and a quality waterproof jacket and pants. Warm gloves and a warm hat are crucial. Do not forget a sun hat, sunglasses, and trekking poles. A headlamp is necessary, plus a water bladder or bottles. Most good operators provide a detailed list. Renting some bulky items in Tanzania is often possible. You can rent things like sleeping bags or jackets.
Understanding the Costs: The price for a 7-day Machame route climb varies widely. You can expect a range. The average for a reputable, ethical operator falls in the mid-range. The cheapest options often cut corners. They might skimp on food, safety equipment, or porter welfare. The price typically includes park fees and guide and porter salaries. It also includes all meals on the mountain, tents, and transportation to and from the gate. It does not include flights or visas. Hotel nights before and after are extra. Tips for the crew and personal gear are also not included. See the cost as an investment. It is an investment in your safety, success, and a positive experience for everyone involved.
Logistics: Starting in Arusha. Almost all climbs start and end in the city of Arusha. You will usually spend one night there before your climb. This is for a briefing and gear check. You will also spend one night after to celebrate and rest. Your operator will handle the transport. They will drive you from Arusha to the Machame Gate. This is about a 90-minute drive. Use your time in Arusha wisely. Ensure you have all your gear and get last-minute supplies. Then, relax before the big adventure begins. For help planning, see our full range of tours and safaris or contact us contact us.