
You’ll see eight weeks prescribed everywhere as the magic number. It works well for someone with a decent baseline. But if you’re starting from a couch, a desk job, or simply haven’t worn hiking boots in years, eight weeks can feel too short, leading to rushed training and injury.
The biggest gap in most guides is a plan for the true beginner. They assume you can jump right into hour-long cardio sessions and weighted stair climbs. We don’t. Your body needs time to adapt to new stresses, especially if you’re over 40 or managing a minor niggle like a tricky knee.
Can you walk for 45 minutes on flat ground comfortably? If not, your first week is simply building that walking habit, not hitting the hills. The key is progressive overload—adding a little more distance, incline, or weight each week—without shocking your system.
Kilimanjaro is a marathon, not a sprint. Summit day itself can be a 12-15 hour continuous effort at extreme altitude. Raw leg strength won’t get you there if your heart and lungs give out first.
Your primary training tool is your own body, moving for long periods. The goal isn’t speed; it’s duration. Start with brisk walking, cycling, or swimming—anything that gets your heart rate up for 30 minutes without leaving you wiped out. Do this three times a week as part of your Kilimanjaro Training Plan.
After two or three weeks of consistent cardio, start to specialize. Replace one of those sessions with a long weekend hike. This is the single most important part of your training. Find a hill, a forest trail, or even a stadium with stairs. Time on your feet, on variable terrain, is irreplaceable.
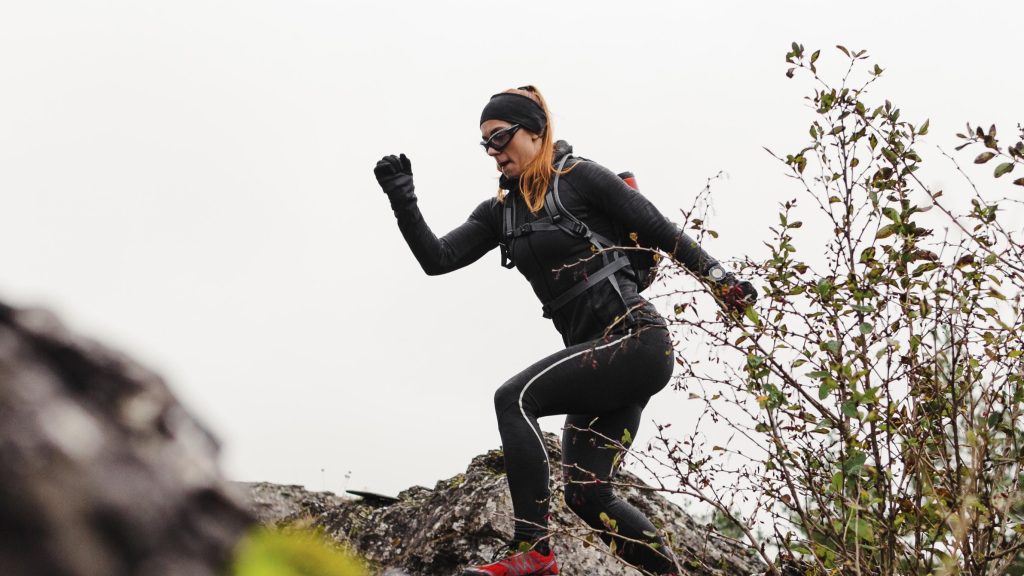
While cardio is king, strength is the loyal guard that protects your knees and hips on the long, punishing descents. Many climbers train for the uphill grind and are undone by the downhill.
You don’t need a gym. Bodyweight exercises are highly effective and budget-friendly. Focus on movements that mimic the climb: step-ups onto a sturdy chair or bench, bodyweight squats, and lunges. These build the quads, glutes, and stabilizing muscles.
A strong core isn’t about six-pack abs. It’s about stability under a loaded pack. Simple planks, bird-dogs, and bridges will make carrying your daypack feel easier and help you maintain good posture over long hiking hours.
Tell us what you have in mind and we’ll build you a free, no-pressure itinerary with honest pricing — planned by a local team that runs these trips every day.
New, stiff hiking boots are the number one cause of ruined climbs. Blisters can stop you in your tracks. Your training plan must include breaking in your footwear as part of your overall Kilimanjaro Training Plan.
Wear your boots and the socks you plan to climb in on every training walk and hike. Start with short distances around your neighborhood. Gradually increase the mileage. This molds the boot to your foot and reveals any hot spots long before you land in Tanzania.
Carry a loaded daypack during your weekend hikes. Start with 5-6 lbs (2-3 kg) of water and snacks. Each week, add a little more weight, aiming to comfortably carry 15-20 lbs (7-9 kg) for several hours. This conditions your shoulders and back for the actual trek.
Life happens. Maybe you booked a last-minute special, or work just cleared your time off. A condensed plan is risky but possible. The focus must shift to maximizing time without getting hurt.
You’ll need to train more days per week, but never back-to-back high-intensity days. Follow a pattern: a hard day (long hike or intense cardio) followed by an easy day (gentle walk or strength) or a complete rest day. Listen to your body—pain is a warning, not a challenge.
With limited time, every session must count. Your weekend long hike becomes non-negotiable. Your mid-week sessions should focus on incline work (stairs, hill repeats) and leg strength. Skip the general gym classes; you’re training for a very specific task as outlined in this Budget Kilimanjaro Training Guide.
Pushing too hard, too fast is the fastest way to a stress fracture, tendonitis, or a muscle strain that sidelines you. Injury prevention isn’t a separate topic; it’s woven into smart training.
Always warm up with 5-10 minutes of easy movement. Cool down with gentle stretching, focusing on calves, quads, hamstrings, and hips. Incorporate rest days—they are when your body repairs and gets stronger. For your Kilimanjaro Training Plan, rest is just as important as exercise.
A twinge in your knee or a tight Achilles isn’t something to “push through.” It’s a sign to reduce intensity, check your form, or take an extra day off. Addressing niggles early prevents them from becoming trip-ending injuries.
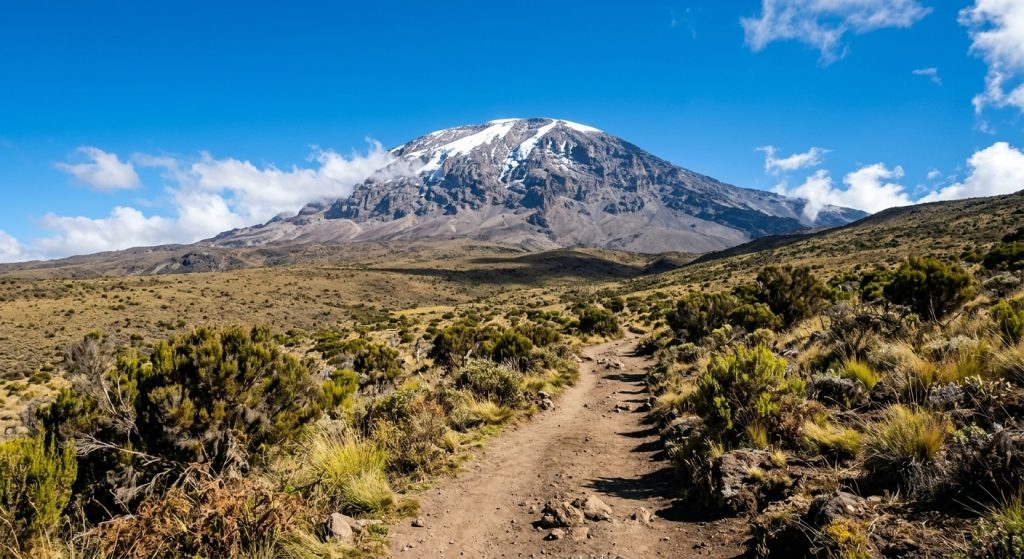
Not all climbs are equal. A shorter, steeper route like the Machame requires a different fitness profile than the longer, more gradual Lemosho or Northern Circuit. Most training guides treat Kilimanjaro as a monolith rather than tailoring a Budget Kilimanjaro Training Guide for the route.
For routes with shorter overall duration but steeper sections (like Umbwe or Machame), prioritize leg strength and power for uphill bursts. For the longer routes (Lemosho, Northern Circuit), your training must emphasize incredible endurance—being able to hike comfortably for 6-8 hours day after day.
Ask your operator which route you’re on and research its profile. If it’s a longer trek, your weekend hikes should gradually build up to matching the longest day’s estimated mileage and duration. This builds the specific stamina you’ll need for your Kilimanjaro Training Plan.
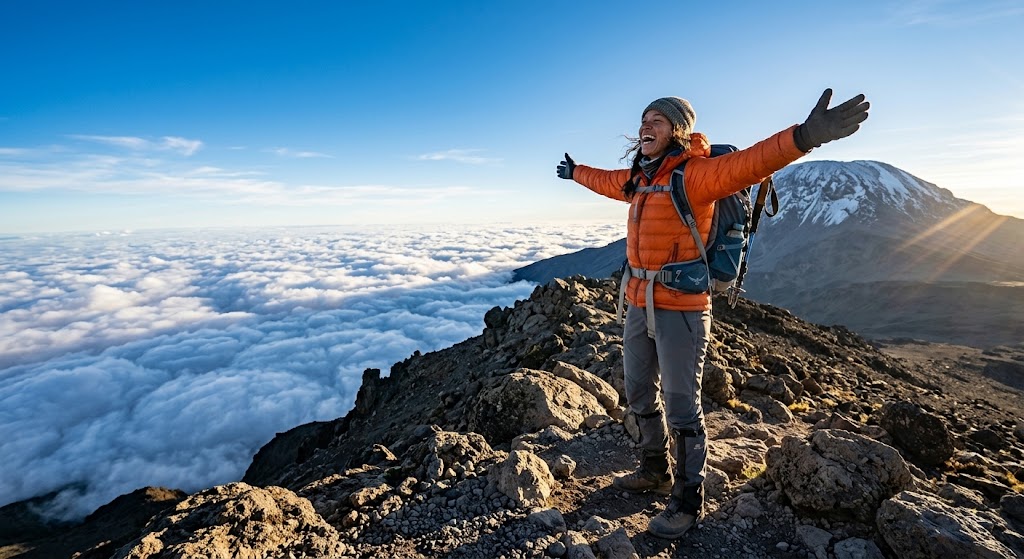
You can be the fittest person on the mountain and still get hit by altitude sickness. Training cannot fully prepare your body for low oxygen, but you can prepare your mind.
Understand the symptoms of Acute Mountain Sickness (AMS): headache, nausea, dizziness, fatigue. Learn the golden rule: “climb high, sleep low.” Most importantly, mentally prepare to go slowly. Pole pole (slowly, slowly) is the mantra for a reason.
On tough training days, practice positive self-talk and patience. The summit day is a mental game as much as a physical one. Building mental fortitude during your long, solo training hikes is invaluable preparation.
In the last 2-3 weeks before your flight, you should be reducing overall volume and intensity—this is called tapering. It allows your body to fully recover and store energy so you arrive at the mountain fresh, not fatigued.
Your final big hike should be about 10-14 days before departure. One week out, exercise should be light and enjoyable. Use this time to finalize your packing, review your gear, and focus on hydration and good sleep as part of your comprehensive Kilimanjaro Training Plan.
About three weeks before you go, can you complete a 5-6 hour hike with a 15 lb pack on moderate hills? If so, your physical preparation is on track. If not, don’t panic—focus on maintaining what you’ve built and trust the taper.
Yes, absolutely. Many successful summiteers are first-time hikers. The key is giving yourself enough time—ideally 12+ weeks—to build a foundation gradually, starting with simple walking and progressing slowly as recommended in the Budget Kilimanjaro Training Guide.
Long, slow, weighted hikes on inclines. Nothing else replicates the specific endurance needed. If you can only do one type of training, make it this and integrate it into your Kilimanjaro Training Plan.
No. While some companies offer altitude chamber sessions, they are expensive and not necessary. Acclimatization happens on the mountain itself through a well-planned route and pace.
Porters carry the main luggage. You’ll only carry a daypack with water, snacks, extra layers, and your camera—typically 15-20 lbs (7-9 kg). Train with this weight.
Consult your doctor first. If cleared, focus heavily on strengthening the muscles around the knee (quads, hamstrings, glutes) and practice hiking with trekking poles, which reduce impact by up to 25%.
Running is excellent for cardiovascular fitness. However, it must be complemented with hiking-specific training (long duration, weighted pack, uneven terrain) to prepare the right muscles and joints as part of your comprehensive Kilimanjaro Training Plan.
Wear them often, for short periods initially, with the exact socks you’ll use. Use a blister prevention product like Engo patches on the boot’s interior seam if you feel a hot spot developing.
Stop training. Rest and recover fully. It’s better to lose a week of training than to push through an illness and be sidelined for a month or arrive on the mountain already weakened.
Stair climbers and inclined treadmills are fantastic supplemental tools, especially for building leg strength and cardio when you can’t get outside. But they should not replace actual hiking on natural terrain.
Signs include persistent fatigue, irritability, trouble sleeping, a decline in performance, and nagging aches that don’t go away with rest. If you feel these, take 2-3 full rest days and reduce your training load.
“`